The tutorial provides the step by step installation process for installing React . The prerequisite for installing React is the node.js installation. The tutorial for node.js can be referred here node.js installation steps
React Installation approaches:
- React Installation using create-react-app command
- React Installation using webpack and babel with npm commands
React installation using webpack and Babel
React can be installed using the webpack and babel . webpack is the module bundler which helps in installing and managing independent modules and provides as a single file bundle for the compilation.
Babel is a JavaScript compiler and transpiler which helps in providing ES6 features and also converts one source code to another.
Below given are the installation steps for React using webpack
Create the folder “reactApp” which will contain the required installation files for developing React application.
C:>mkdir reactApp
C:>cd reactApp
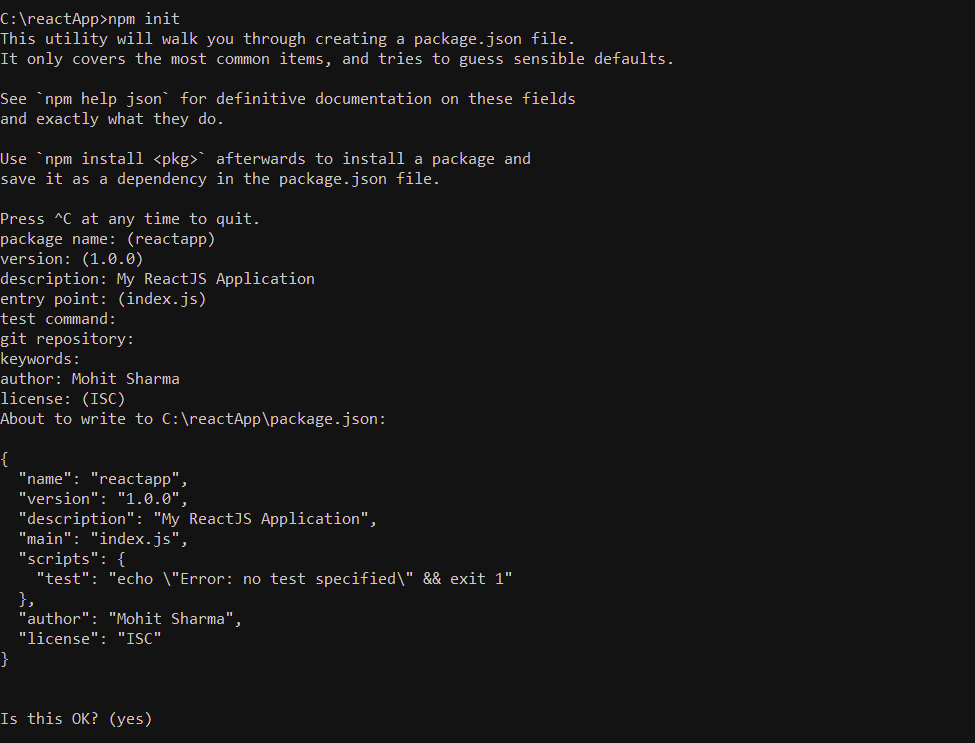
Each Reach application, requires package.json file which can be cretaed using the below given init command. Provide the required information for the description, package name, git repository , keywords, author, etc
C:\reactApp>npm init
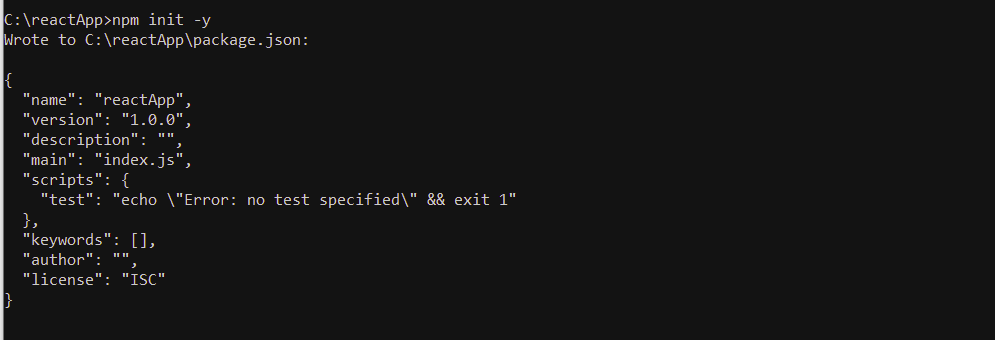
You can also execute the below command which creates the package.json file with the default values.
C:\reactApp>npm init -y
Now execute the below npm commands for installing the React modules
C:\reactApp>npm install react –save
C:\reactApp>npm install react-dom –save
React modules can be installed using the single command as given below
C:\reactApp>npm install react react-dom –save
install react using npm command

install react dom using npm command

The below commands are to be executed to install the webpack using npm command
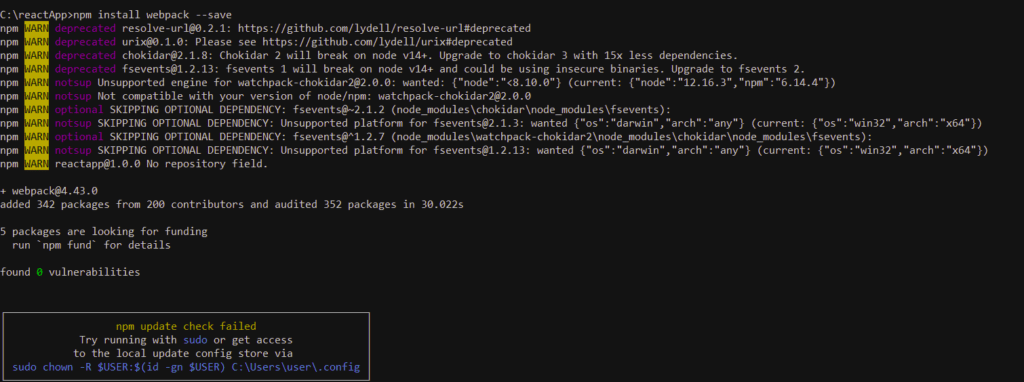
C:\reactApp>npm install webpack –save
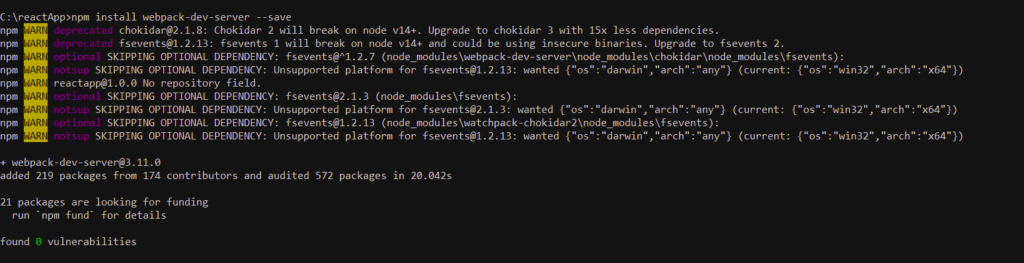
C:\reactApp>npm install webpack-dev-server –save
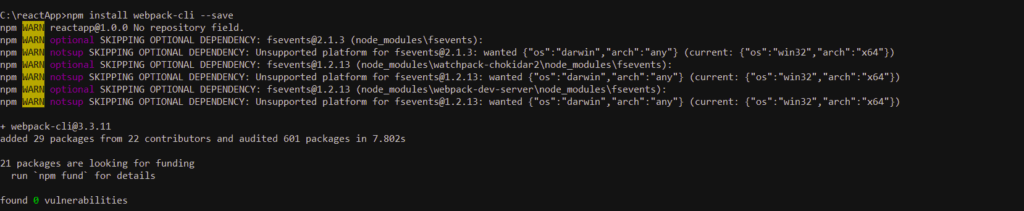
C:\reactApp>npm install webpack-cli –save
install webpack using npm command
install webpack dev server using npm command
install web cli using npm command
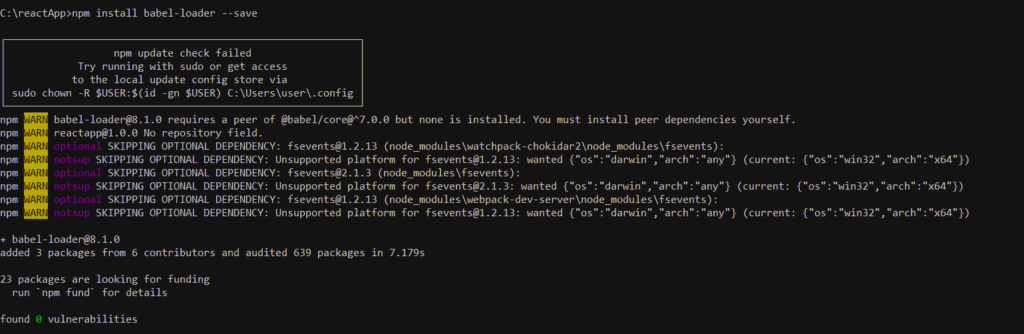
install babel using npm command
The below commands are to be executed to install babel using the npm command
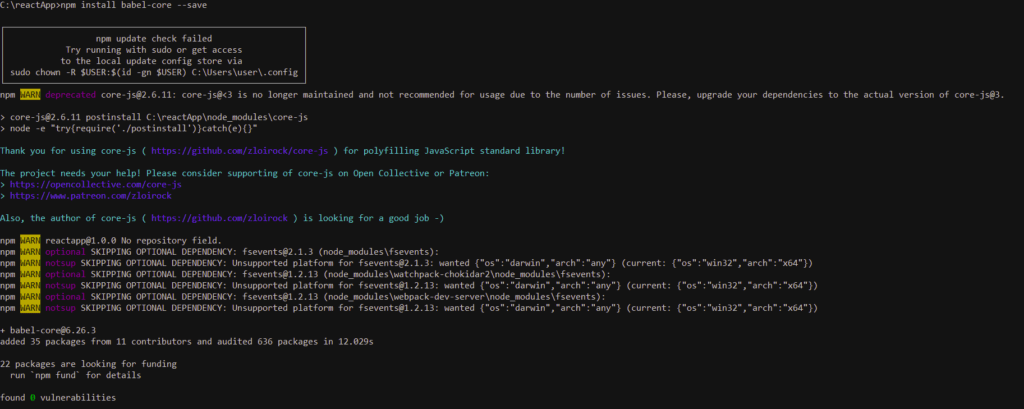
C:\reactApp>npm install babel-core –save
C:\reactApp>npm install babel-loader –save
C:\reactApp>npm install babel-preset-env –save
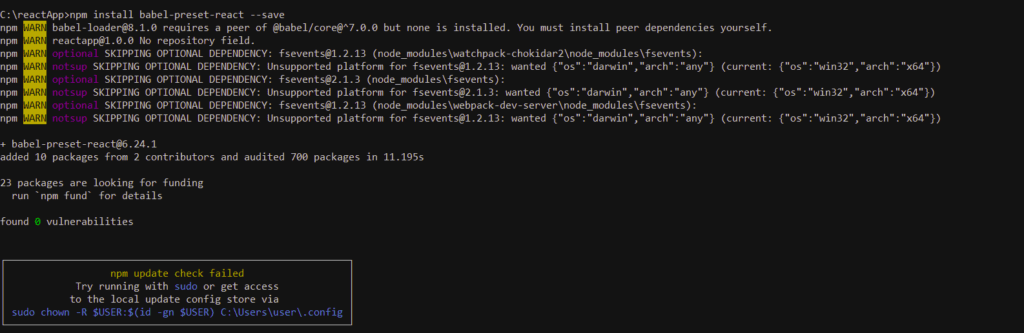
C:\reactApp>npm install babel-preset-react –save
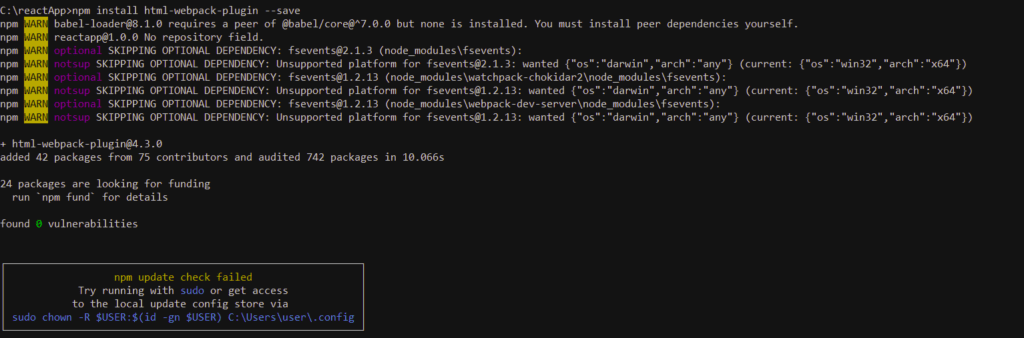
C:\reactApp>npm install html-webpack-plugin –save
The babel can be installed using the single line command as given below
C:\reactApp>npm install babel-core babel-loader babel-preset-env babel-preset-react html-webpack-plugin –save

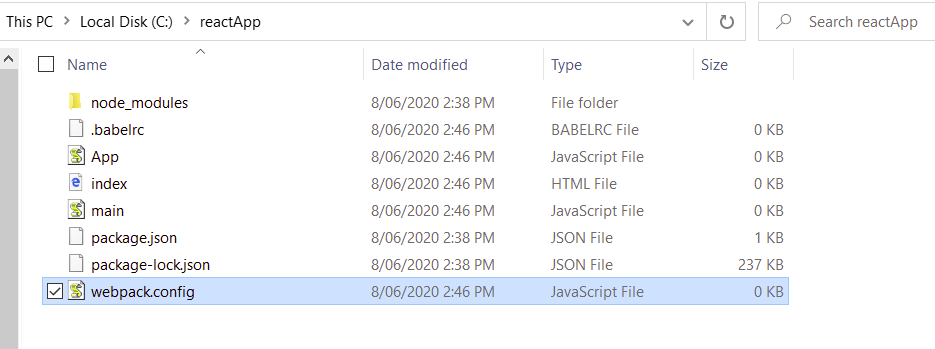
The below given files need to be created as part of the installation process to be used by the React application.
C:\reactApp>type nul > index.html
C:\reactApp>type nul > App.js
C:\reactApp>type nul > main.js
C:\reactApp>type nul > webpack.config.js
C:\reactApp>type nul > .babelrc
webpack.config.js file modifications
const path = require('path');
const HtmlWebpackPlugin = require('html-webpack-plugin');
module.exports = {
   entry: './main.js',
   output: {
      path: path.join(__dirname, '/bundle'),
      filename: 'index_bundle.js'
   },
   devServer: {
      inline: true,
      port: 8001
   },
   module: {
      rules: [
         {
            test: /\.jsx?$/,
            exclude: /node_modules/,
            loader: 'babel-loader',
            query: {
               presets: ['es2015', 'react']
            }
         }
      ]
   },
   plugins:[
      new HtmlWebpackPlugin({
         template: './index.html'
      })
   ]
}
Remove the below given command from the scripts object if developer needs to work on the development activities and application testing is not required initially.
“test”: “echo \”Error: no test specified\” && exit 1″
Instead add the below given commands for the start and build commands
“start”: “webpack-dev-server –mode development –open –hot”,
“build”: “webpack –mode production”
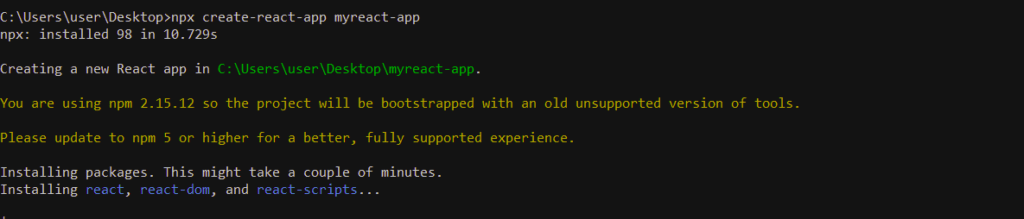
react installation using react-create-app command
React Installation can be done using the create-react-app command. The below given command creates the folder with name “myreact-app” and all required files are installed in the folder
Delete the source files
C:\Users\user\Desktop>cd myreact-app/src

C:\Users\user\Desktop> cd myreact-app\src>del *
Add index.js and index.css file to the source folder
C:\Users\user\Desktop>cd myreact-app\src> type nul > index.js
C:\Users\user\Desktop>cd myreact-app\src> type nul > index.css
Add the below code lines to index.js file
import React from 'react';
import ReactDOM from 'react-dom';
import './index.css';
Common Errors while installing React using Webpack and Babel
- Failed to build the babel loader
This happens when the React uses the higher version to run the babel loader .
Run the babel loader command with the higher version
C:\reactApp>npm install babel-loader@8 --save-dev
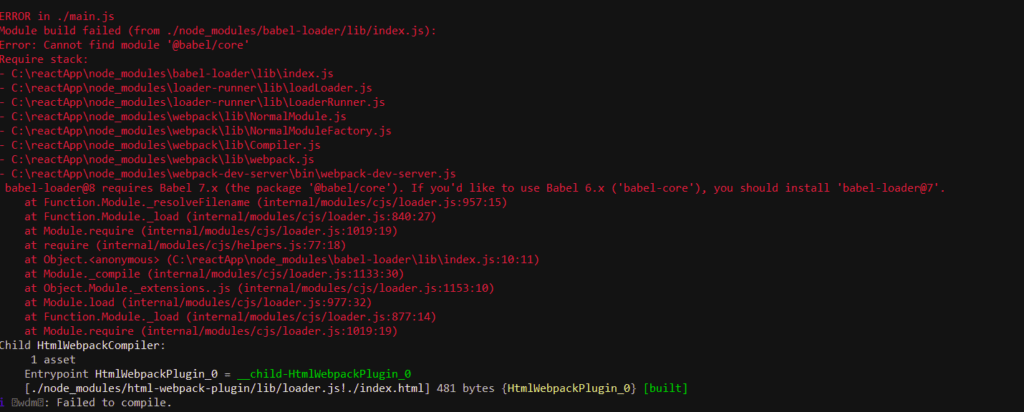
2. When babel core library fails due to babel loader incompatibility
You need to install the babel loader 7 version as per the below given error
App>npm install babel-loader@7 --save-dev
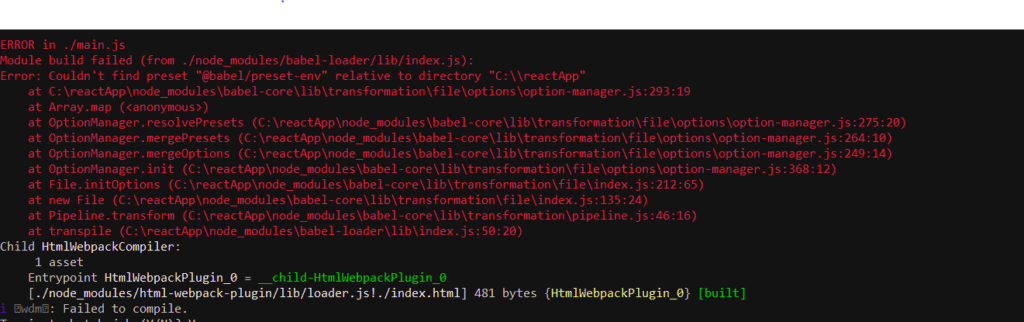
3. Error- couldn’t find preset “es2015” relative to directory
This means installation for “es205” is not on the machine. Execute the below command
npm install babel-preset-es2015
Common Errors while installing React using create-react-app
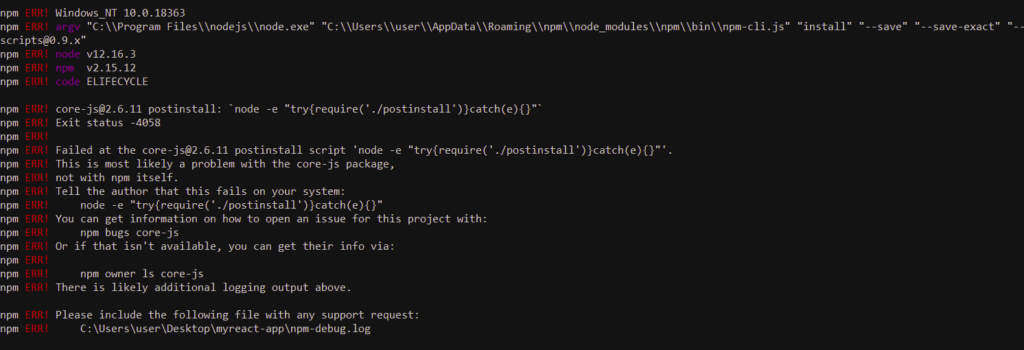
Ensure that your NPM version is 5 or above
core-js contains post install script which perfomrs the process via node -e call. It requires shell script which could be at different install path and thus fails. To resolve the issue , Execute the below command
npm config set script-shell “C:\Program Files\git\bin\bash.exe”
Now, re-run the create-react-app command for the React Installation
Creating First React Application
Let’s try our first “Hello World’ React Application.
- Open the index.html file and add the below given code.
- Define the root element div id =”app”
- Script object allows to map the bundled app file.
<!DOCTYPE html>
<html lang = "en">
   <head>
      <meta charset = "UTF-8">
      <title>React App</title>
   </head>
   <body>
      <div id = "app"></div>
      <script src = 'index_bundle.js'></script>
   </body>
</html>- Open the App.js file and add the below code
import React, { Component } from 'react';
class App extends Component{
   render(){
      return(
         <div>
            <h1>Hello Oracleappshelp Users</h1>
         </div>
      );
   }
}
export default App;- Open the main.js and add the below code. The Class HelloWorldApp needs to be mapped as the component in the main.js as the App Element.
import React from 'react';
import ReactDOM from 'react-dom';
import HelloWorldApp from './App.js';
ReactDOM.render(<App />, document.getElementById('app'));
Execute React application
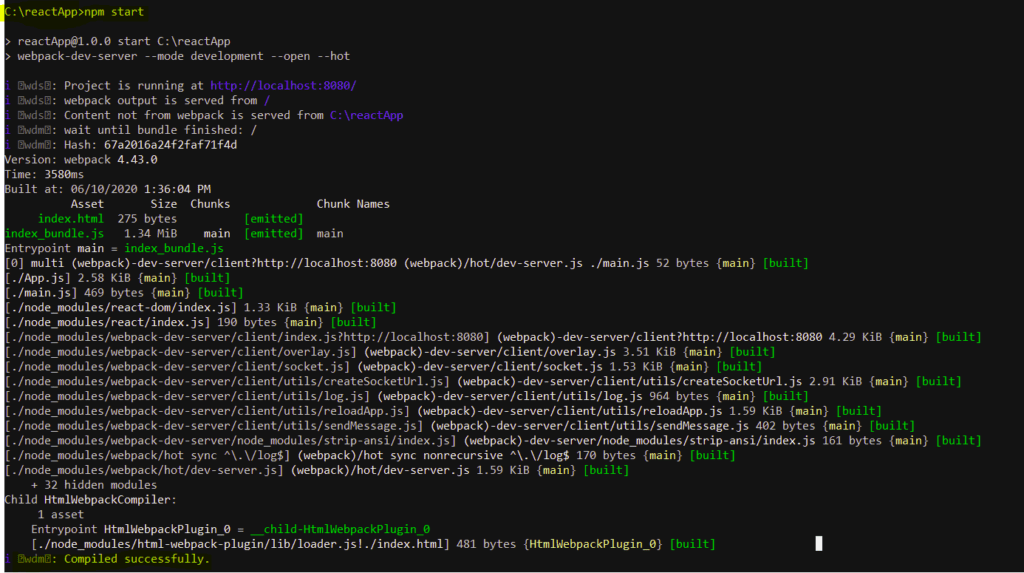
Run the command – npm start and you will be provided with the below details for the code compilation